how to draw beautiful christmas trees
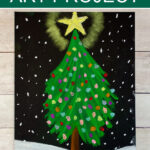
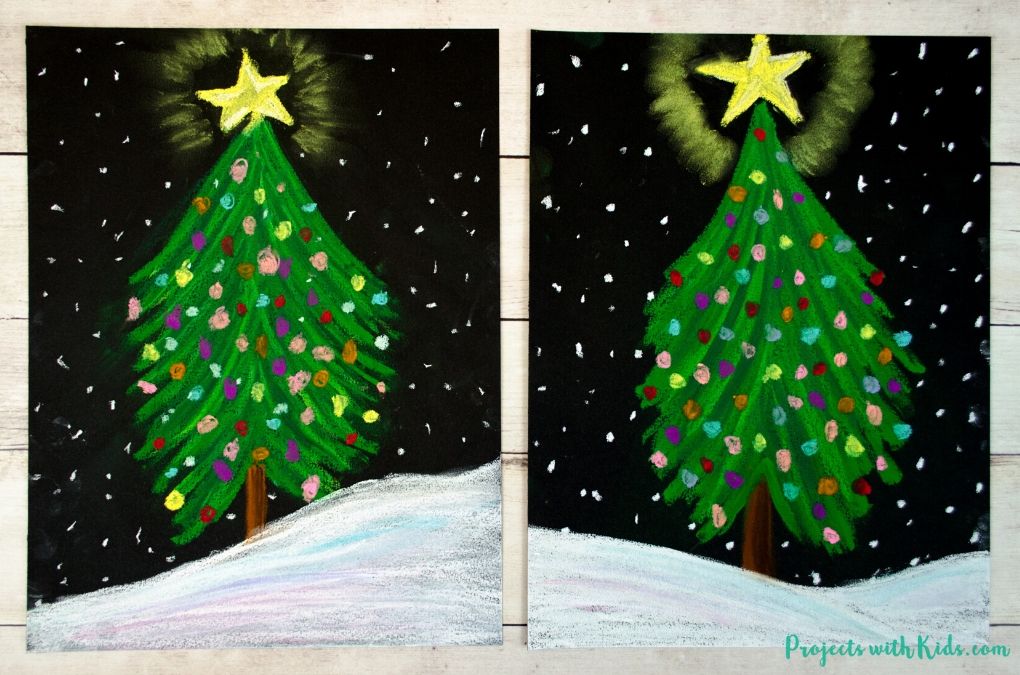
This chalk pastel Christmas tree is an easy art project that kids will love! The glowing star, the lights on the tree and the snow falling make this Christmas art project magical!
Using these easy to follow steps and techniques, kids will be able to create their own Christmas tree art project.
Pastels are so fun for kids to explore! Take a look at my collection of chalk pastel art for more creative ideas kids will love.
I love how chalk pastel projects only require a few simple supplies to get started! Making them easy to use in the classroom and at home.
We love creating Christmas art. Take a look at this mixed media Christmas tree art project and this watercolor Christmas tree that kids will love!
Tips for working with chalk pastels
Chalk pastels can be messy (but so fun!). There are a few things you can do to help keep some of the mess contained:
- Put newspaper down on desks or tables
- Put your project on a tray or a shallow cardboard box which will keep most of the mess inside the tray
- You can try doing your project outside
- Have lots of paper towels handy
- Once you are done with your project (or even halfway through if it gets really dusty), take it outside to gently blow or shake off the excess dust
- If you are using chalk pastels in the classroom and the kids are ready to take their artwork home, simply place the art between some newspaper to keep it from smudging and for easy transport.
Create your own chalk pastel Christmas tree
This post contains affiliate links. As an Amazon Associate I earn from qualifying purchases. If you would like more information please review my privacy & disclosure policy.
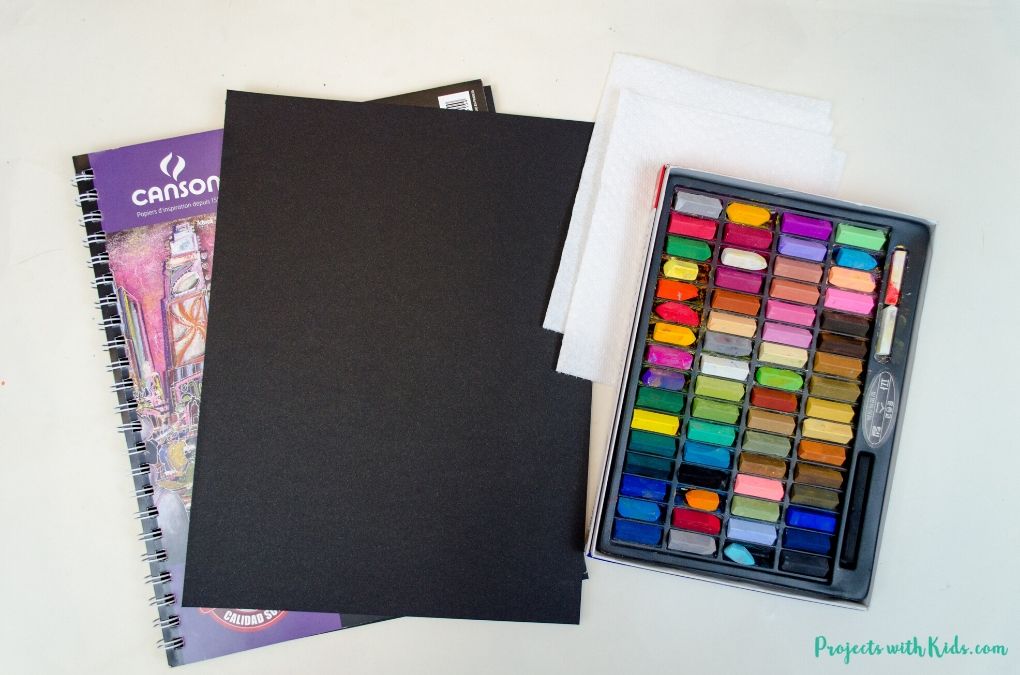
Supplies
- Chalk pastels
- Black drawing paper, pastel paper, scrapbook paper or construction paper (we used black drawing paper for this project)
- Paper towels – these will come in handy!
- Pencil
Instructions to make your Christmas tree art
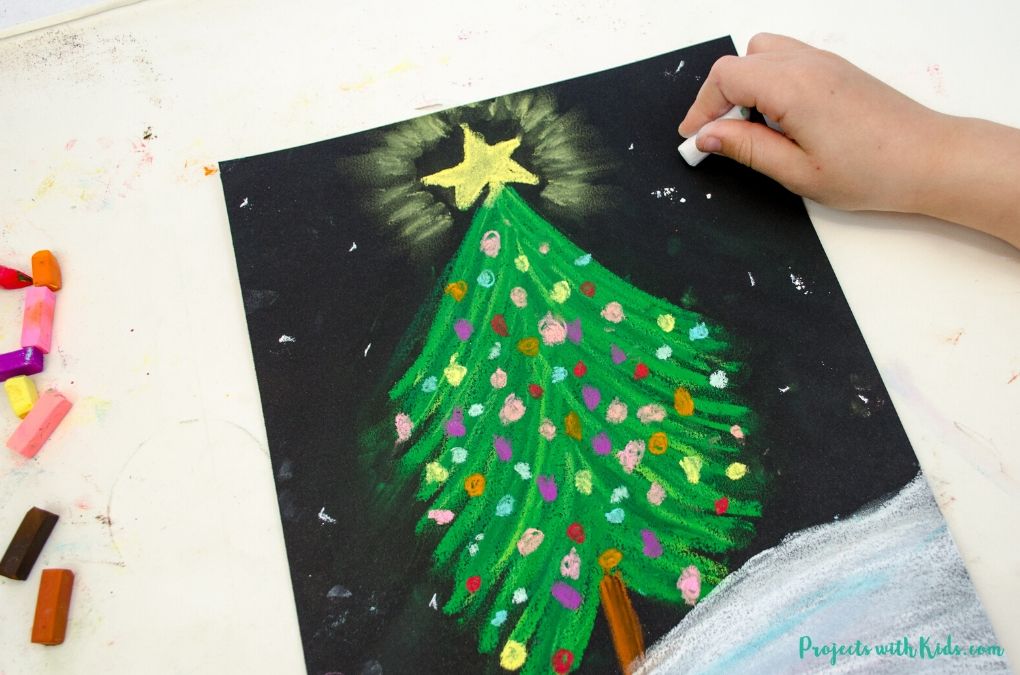
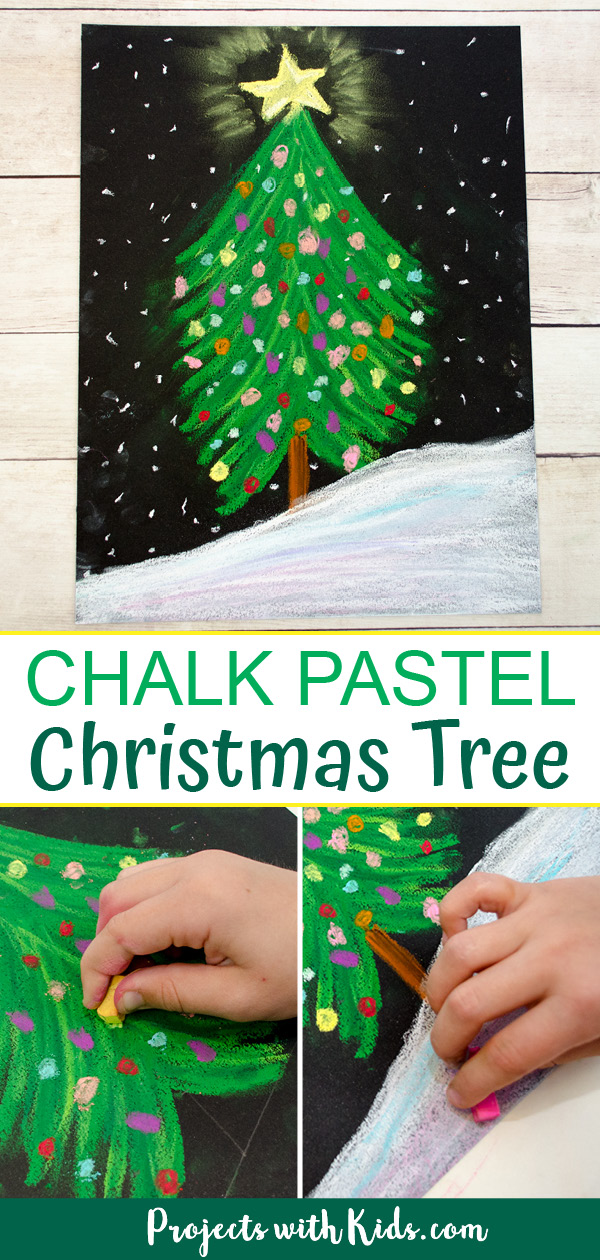
1.First, you want to draw out your tree and snow with a pencil. Have kids draw their snow hill first, then draw a straight line to indicate the center of their tree. Draw a few lines coming out from the center for the branches.
Don't forget to leave room at the top for your star. Having this simple pencil drawing in place before starting will help to make drawing with the chalk pastels a lot easier!
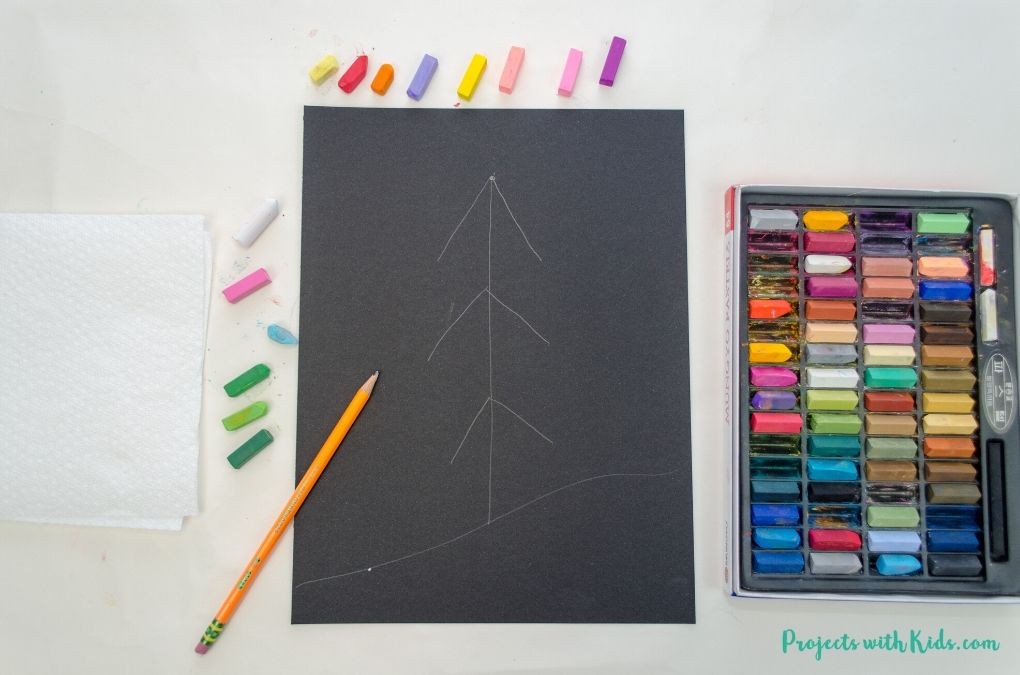
We used black drawing paper for this project. I love how bright and bold chalk pastels look on black paper. You could also use pastel paper, scrapbook paper or try black construction paper.
Each type of paper will look and behave slightly different with the pastels, but still turn out great!
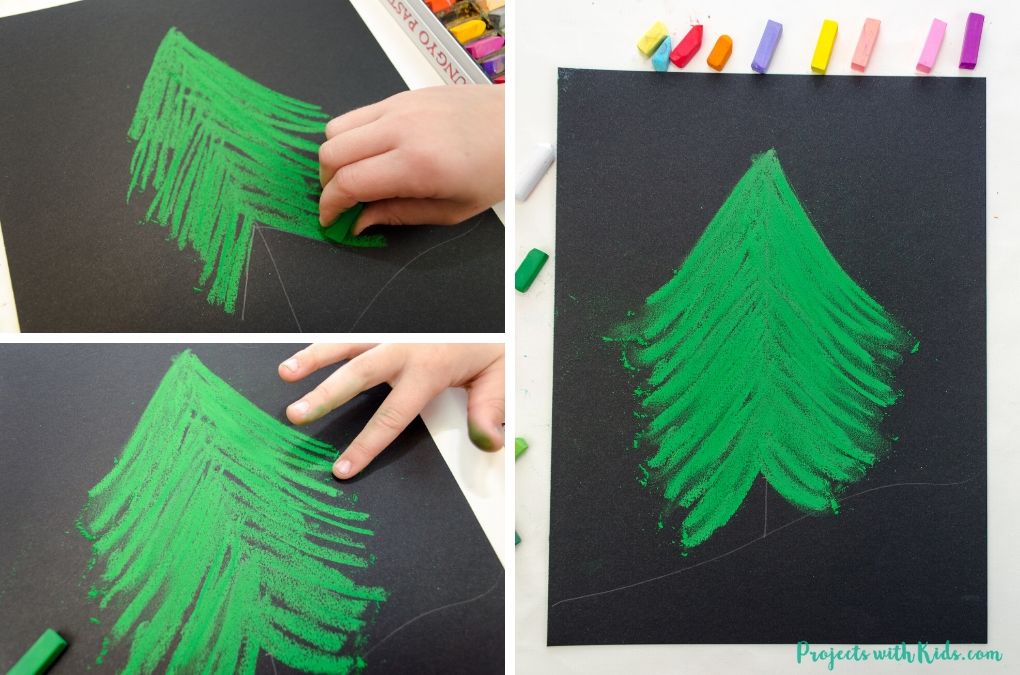
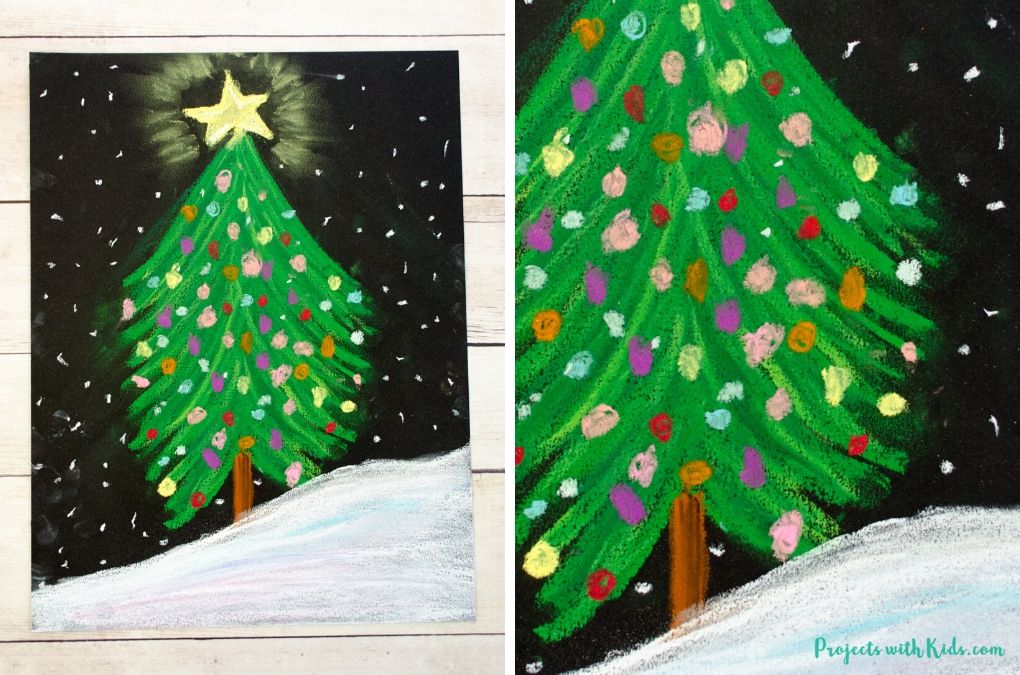
2. You will need 3 shades of green for the Christmas tree. One bright green shade, one light green, and a darker shade.
Take the bright green pastel, hold it like a pencil and start to draw tree branch lines following the pencil drawing. Use the image above as a guide.
Once you are done with your drawing, take your finger and blend the branches together following the lines of the pastels. Make sure to only blend in one direction.
Blending with pastels is an easy technique for kids to learn, take a look at these 5 essential chalk pastel techniques for beginners for more details.
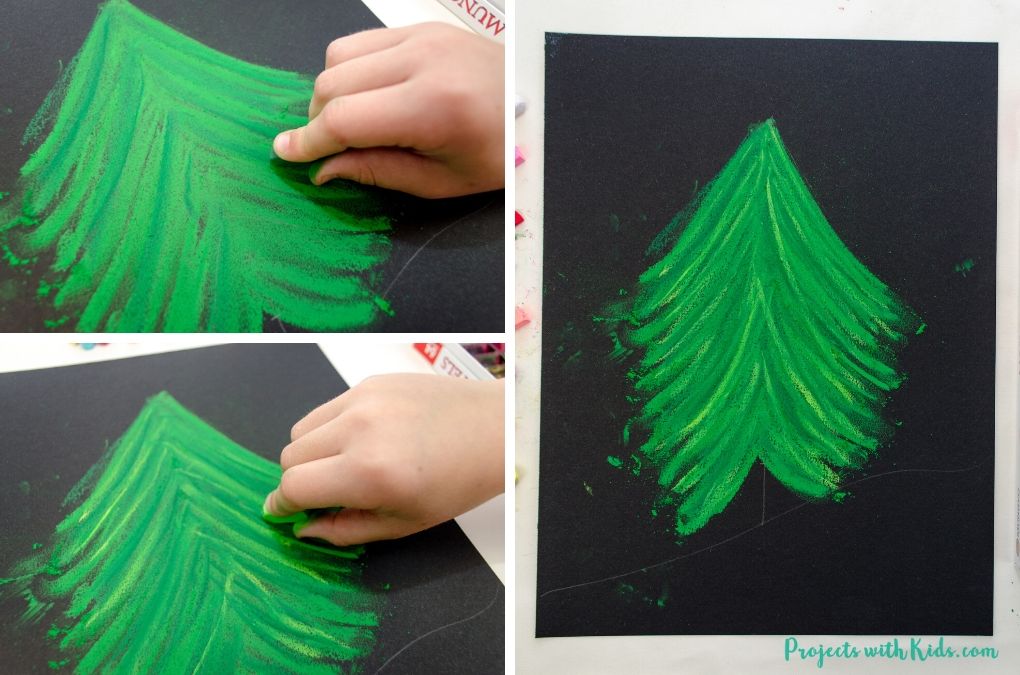
3. Use your darker green to add in some darker shades to the tree. Add in the lighter green on top. The dark and light colors don't need to be blended.
This is a good place to stop and take your pastel drawing outside to blow off the excess dust.
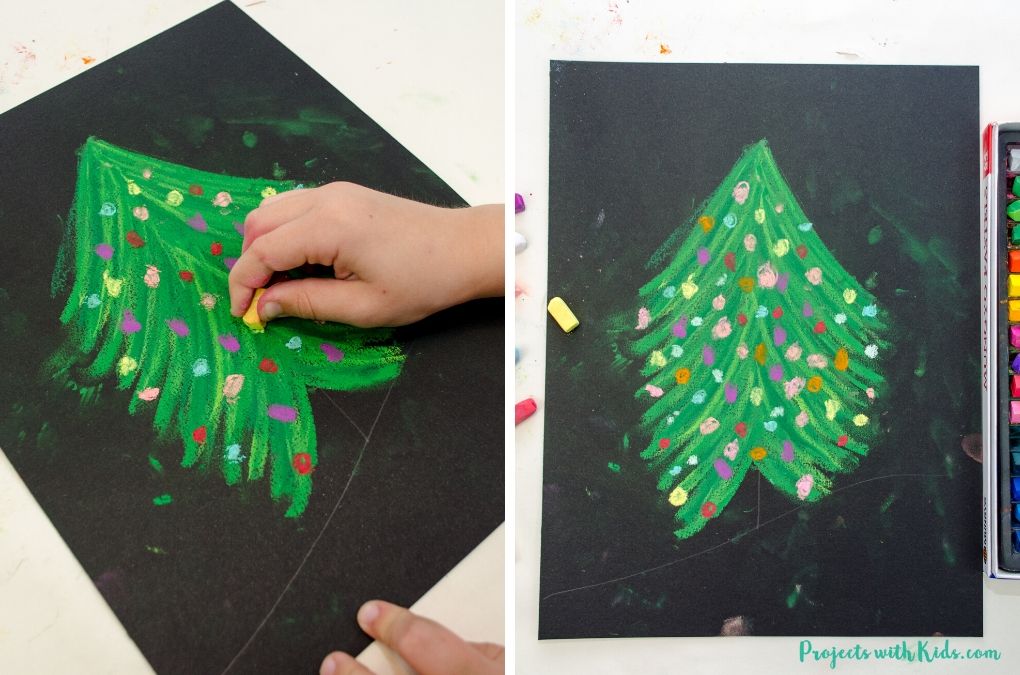
4. Time to add the beautiful Christmas lights! Have kids choose a few bright colors that they want to use. We used eight colors for this part. But five or six colors would also look nice.
Draw on your dots of light, using one color at a time. Remind kids to spread each color out on the whole tree and not group the same color together.
Once kids are done their tree decorations, take a paper towel and gently wipe away the smudges on your paper. Make sure to do this very carefully and not to get too close to the tree!
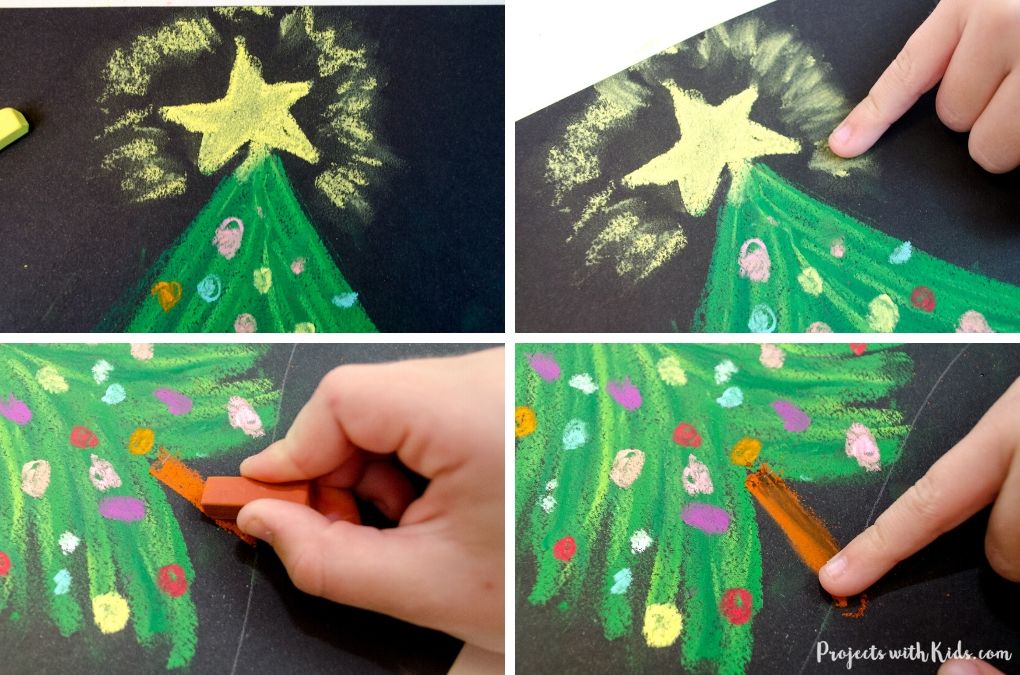
5. Draw a star at the top of your tree with a pencil. Color it in with a bright yellow pastel. Add some lines around your star and gently smudge them outward to make the star look like it's glowing.
Color in the tree trunk with a brown and blend in a darker shade to one side of the trunk.

6. Now it's time to color the in the snow. First, color your snow with white chalk pastel and blend it into the paper.
Next, take pale blue and pink pastels (you could also add in pale purple) and add just a few lines to show the snow reflecting the Christmas lights.
Kids can blend the pink and blue lines in or just leave them how they are.
7. For the final step to your chalk pastel Christmas tree, add in the falling snow by dotting your paper with white chalk pastel.
I love how our chalk pastel Christmas trees turned out! My 9-year-old daughter loves the way hers looks and has it displayed in her room.
This is such a great Christmas art project that younger kids, as well as older kids and tweens, will love to do! Take a look at our collection of creative Christmas arts and crafts for more fun ideas!
If you are looking for more art projects to try, take a look at our ultimate collection of amazing art projects for kids!
More chalk pastel art kids will love
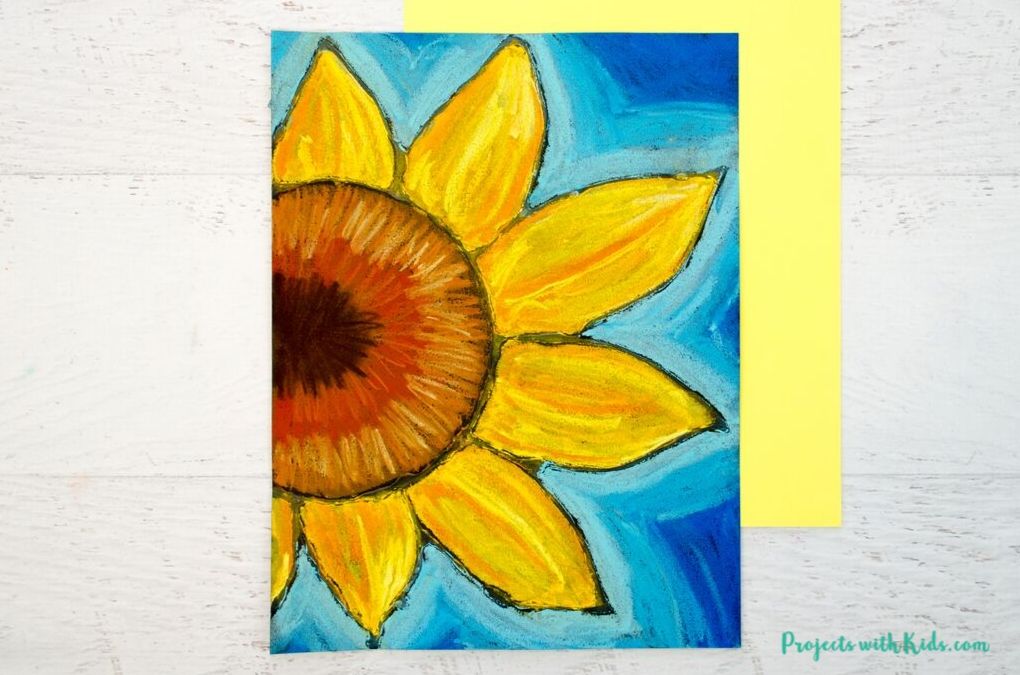
Chalk Pastel Sunflowers – Art Project for Kids
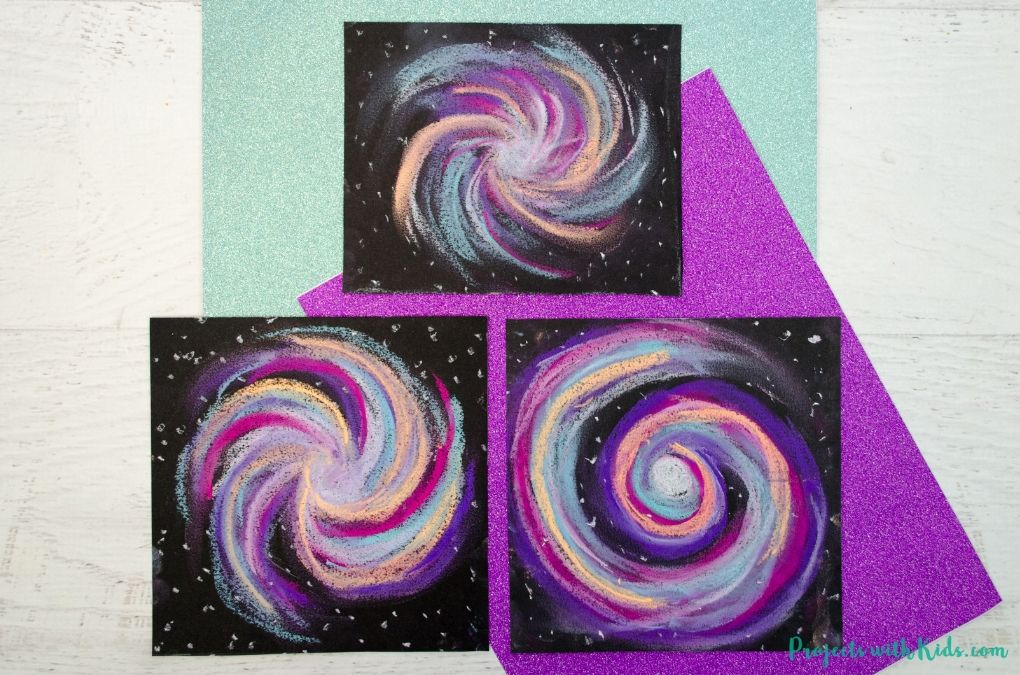
Awesome Galaxy Chalk Pastel Art Projects for Kids
Follow me on Pinterest for more amazing project ideas.
Pin this Christmas art project for later
Prep Time 5 minutes
Active Time 40 minutes
Total Time 45 minutes
Difficulty Easy
Materials
- Chalk pastels
- Black drawing paper
- Paper towels
Instructions
- Start by drawing in your snow hill and Christmas tree. Have kids draw in their snow hill first, followed by a straight line where they want their tree to go.
Add in some lines to indicate the tree branches. Don't forget to leave room at the top for the star! - Next, get 3 shades of green. A bright green, light green, and a darker shade.
Start drawing your tree using the bright green. Drawing with downward strokes, following your pencil lines.
Blend these lines together with your fingers. Remind kids to blend the pastels in one direction and not smudge back and forth. - Add in the darker green shade to your tree and then the lighter green. These shades do not need to be blended. Leaving them unblended will add some texture to your Christmas tree.
- Choose the colors for your lights on the tree. Have kids choose at least five bright colors.
Draw the dot decorations one color at a time. - Draw a star with a pencil at the top of your tree and color it in with bright yellow chalk pastel.
Draw small lines going outward around the star. Carefully blend these lines in an outward direction. This will make it look like the star is glowing! - Use two shades of brown to draw the tree trunk.
- Color in the snow with white chalk pastel. Blend the white into the paper.
Add a few lines of light pink and blue pastel to show the lights from the tree reflecting onto the snow. - Finally, add dots of white pastel for the falling snow.
Source: https://www.projectswithkids.com/chalk-pastel-christmas-tree/
0 Response to "how to draw beautiful christmas trees"
Post a Comment